*This post contains affiliate links that help me earn a little extra money. Be sure to read my disclaimer!
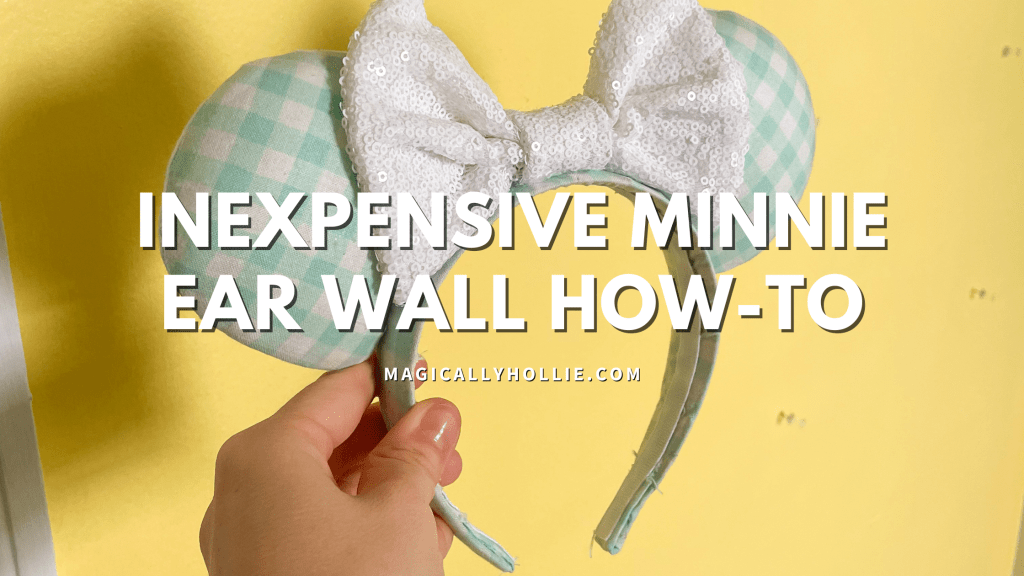
If you’re reading this, chances are you have at least one pair of Minnie ears. You can get fun ones all over the Disney parks, and nowadays, there are many people all over the internet creating and selling their own unique versions. They’re so cute and hard to say no to. They make the perfect addition to every park day outfit!
I only started my collection a few years ago so it isn’t huge, but I did need a safe space to store them all without them getting squished or ruined in any way.
That’s when we had this brilliant idea for an ear wall.

I’m sure others have done it; we really didn’t do any research into it before we got the idea. We were just thinking of quick, simple, and inexpensive ways we could store these ears using supplies we already had at the house when this idea popped into either mine or Ean’s head (probably Ean’s because he’s more crafty than I am for things like this).
We decided to make an ear wall using one thing and one thing only. And if you’re looking to do the same… it’s only going to cost you $5.
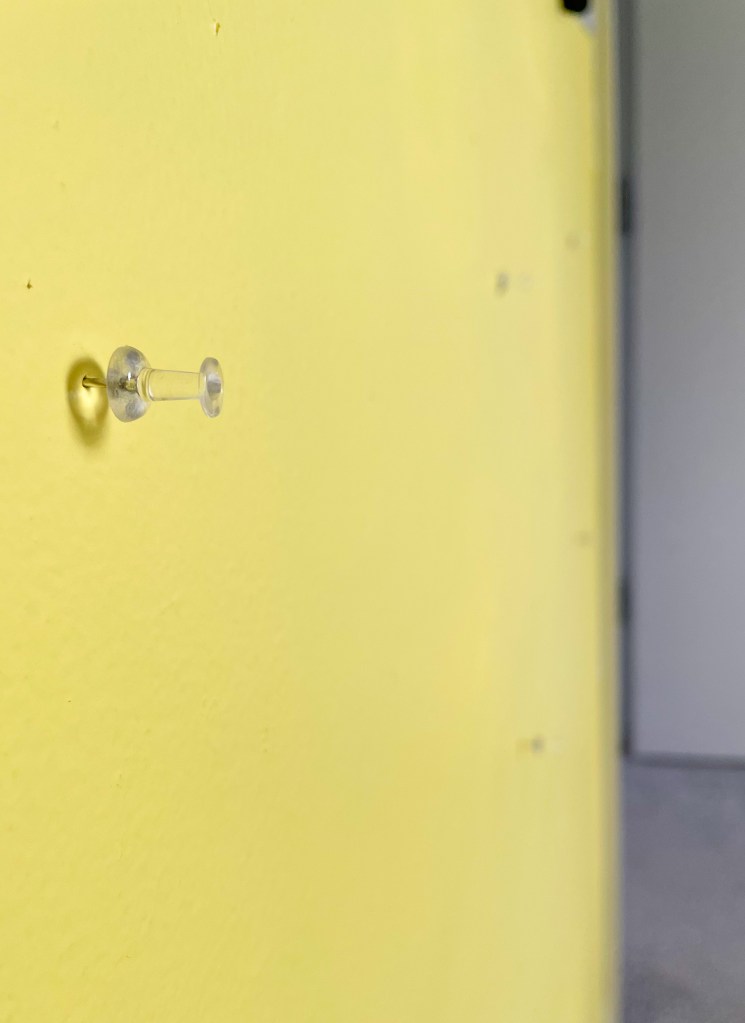
That’s right, we decided to make an ear wall using clear push pins!

It’s super easy and I honestly think it looks pretty good!

Now we did add this decorative art to the ear wall, but we had gotten this as a gift, so our wall still cost us virtually nothing. We already had everything we needed to create this wall!
So here’s what you’ll need to create your own inexpensive ear wall as well as a step by step guide on how to set yours up.
Supplies:
1. Push Pins (I recommend these from Amazon Basics with an average rating of 4.8 out of 5 stars and 39,000+ ratings)
2. Tape Measure
3. Pencil
Instructions:
Step 1
Use your tape measure to measure out how much space you want in between each set of ears. They can be as close or as far apart as you’d like! It’s your wall so be as creative as you want with it. You can have yours in rows and columns or make a fun design with them!
Step 2
Use your pencil to mark where you’ll be putting each push pin in the wall. Make it dark enough so you can see it. That way you can make sure you like the placement and arrangement before you start sticking the pins in the wall.
Step 3
Add your push pins into the wall.
Step 4
Place your ears on the push pins! You may need to pull the push pins out of the wall just slightly to create more of a “platform” for your ears to rest on. I have a few that have thicker ear parts than others, so those need more space to sit on since they can’t fully rest against the wall. Play around with yours until you get it to where it works!

And that’s it! You’ve created yourself a very inexpensive ear wall to store and display all those gorgeous Minnie ears!
If you make your own using this guide, be sure to tag me on Instagram!